
1. Introduction
If you’re seeking a reliable alternative to over-the-counter medications for allergy relief, exploring natural allergy relief options can be transformative. A well-crafted DIY essential oil roller or homemade antihistamine recipe harnesses the power of aromatherapy and natural ingredients to soothe allergy symptoms effectively. In this comprehensive guide, you’ll learn how to create your own allergy roller blend that delivers fast relief and promotes overall wellness during allergy season.
2. Why Opt for Natural Allergy Relief Solutions?
Choosing allergy aromatherapy provides a holistic approach to managing symptoms like sneezing, nasal congestion, and itchy eyes. Unlike synthetic medications that may cause unwanted side effects, a DIY allergy roller blend utilizes pure essential oils celebrated for their anti-inflammatory, antihistamine, and decongestant properties. These natural remedies can significantly reduce allergy severity safely, making them especially suitable for sensitive skin or those avoiding chemicals. For an enhanced experience, consider incorporating a premium Essential Oils Set by Pure Aroma to always have the best botanical extracts on hand.
3. Essential Ingredients for Your Homemade Antihistamine Recipe
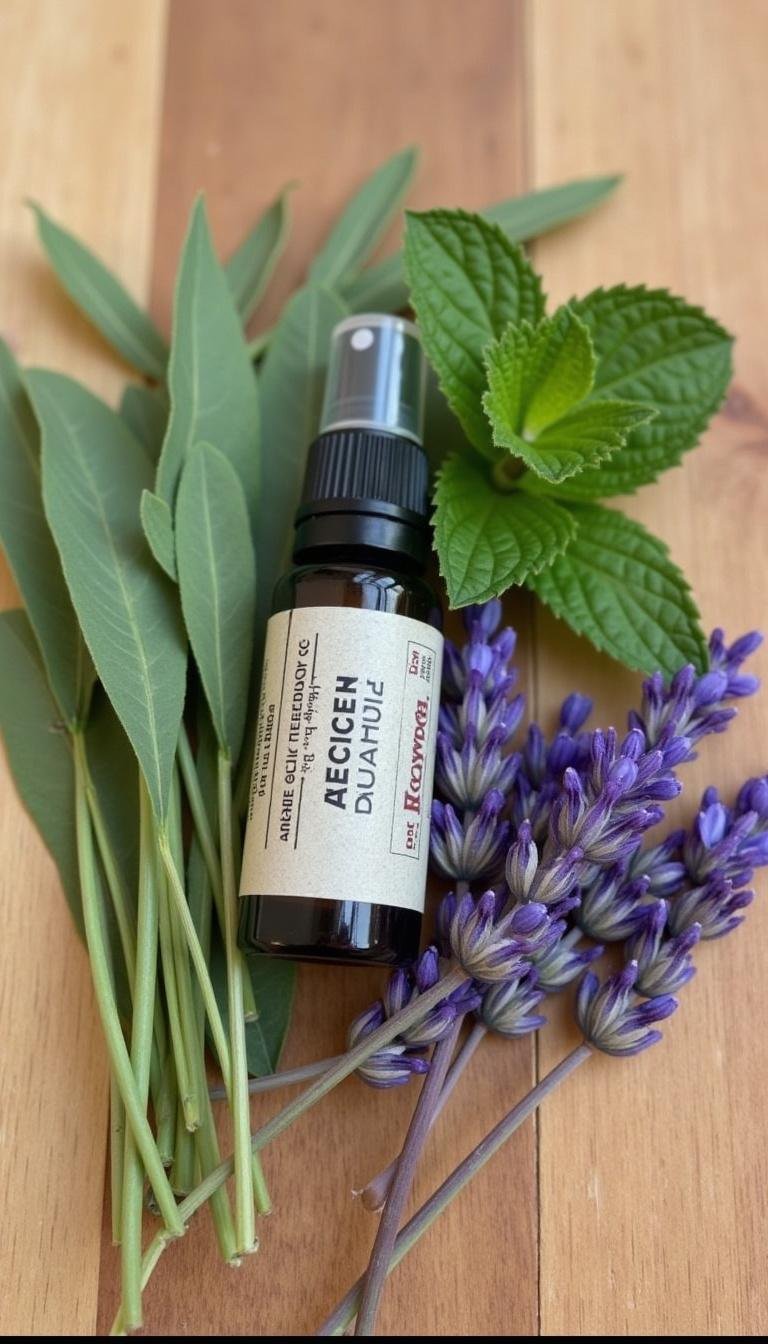
The effectiveness of your allergy roller blend hinges on choosing the right natural ingredients. Here are essential components to include:
- Eucalyptus Essential Oil: Recognized for its potent decongestant and anti-inflammatory effects to clear nasal passages. To ensure maximum efficacy, utilize a high-quality PURA D’OR Organic Sweet16 Essential Oils Set that includes eucalyptus.
- Peppermint Essential Oil: A natural remedy to alleviate nasal congestion and provide cooling relief. For versatility, consider the Essential Oils Set by Pure Aroma.
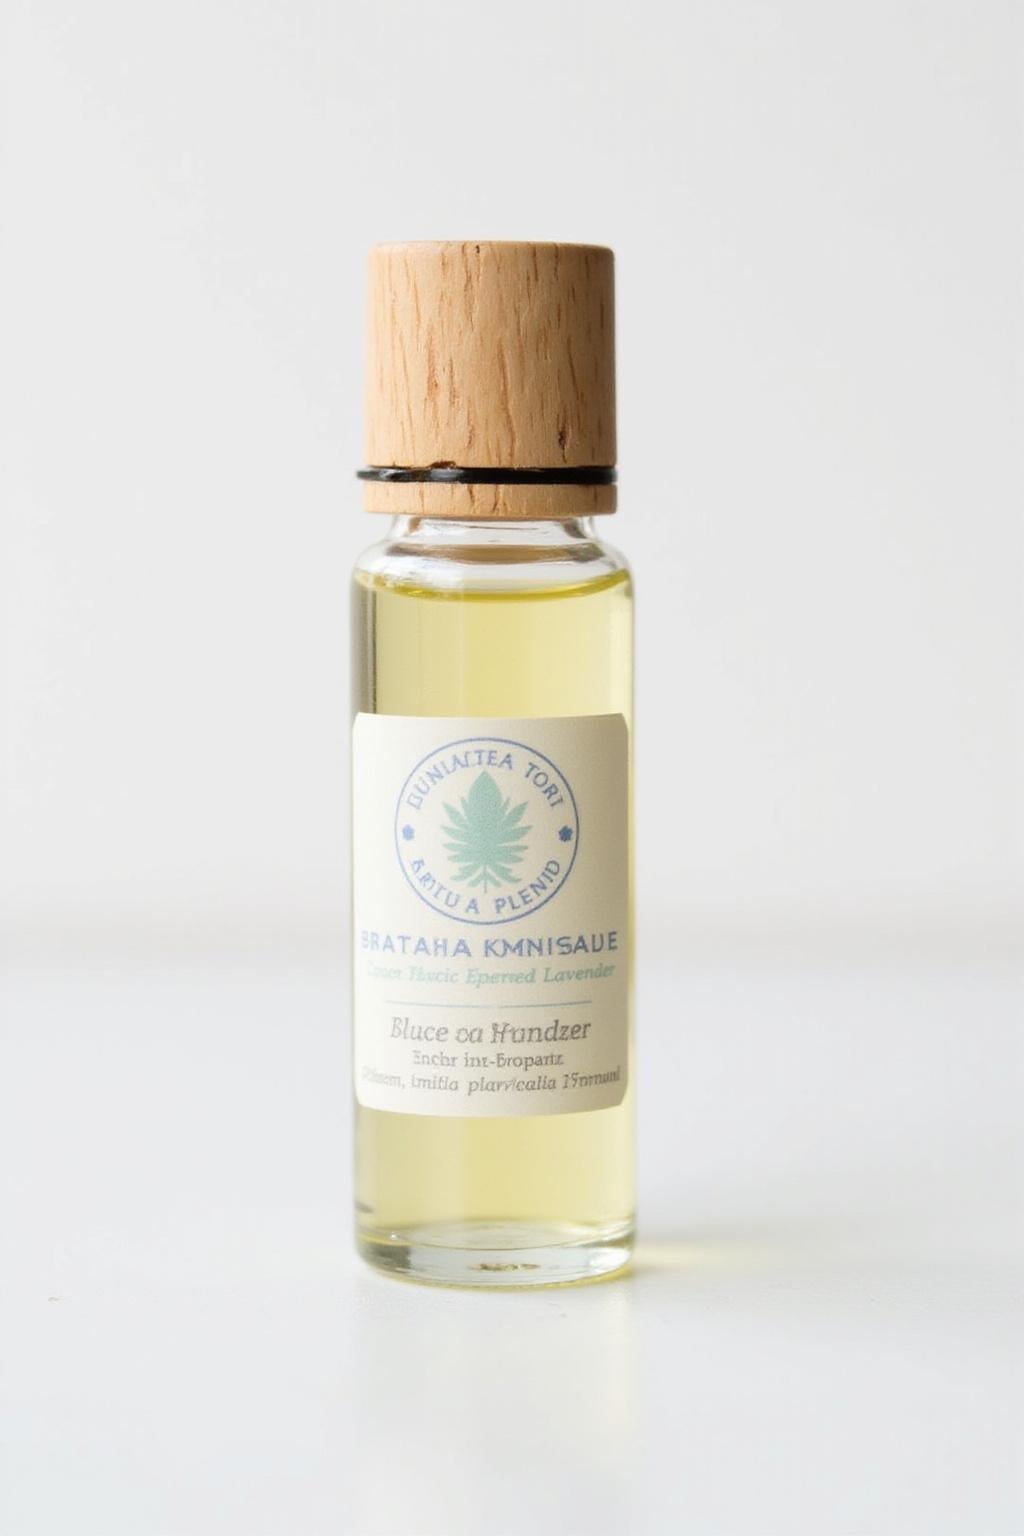
- Lavender Essential Oil: Known for its calming properties and ability to soothe irritated skin, making it perfect for a homemade antihistamine recipe. For best results, select a therapeutic-grade lavender oil.
- Carrier Oil (such as Fractionated Coconut Oil or Jojoba Oil): Acts as a safe base for diluting the essential oils, enabling safe, even application. For premium carrier oils, see options like Black Seed Oil and Rosehip Oil.
4. How to Craft Your DIY Allergy Relief Roller Blend
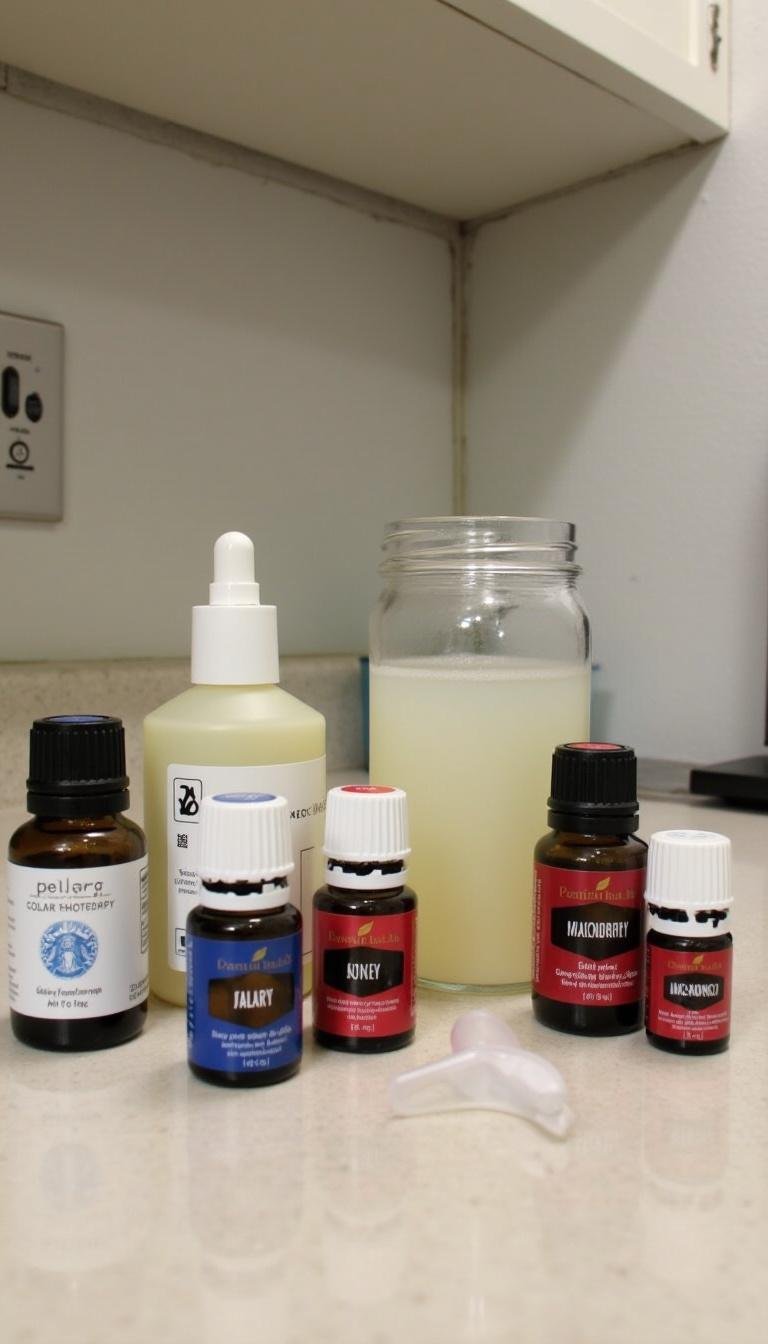
Making your allergy roller blend is straightforward and requires minimal ingredients:
- Start with a clean 10 ml rollerball bottle.
- Fill it about ¾ full with your preferred carrier oil for smooth application. To ensure optimal hydration, consider PURA D’OR 16 Oz ORGANIC Avocado Oil.
- Add 8-10 drops of eucalyptus essential oil, adjusting based on allergy severity.
- Add 5-7 drops of peppermint essential oil for nasal congestion relief.
- Secure the rollerball top and gently roll the bottle to blend all ingredients thoroughly.
And just like that, your DIY essential oil roller is ready to provide natural allergy relief swiftly whenever symptoms appear.
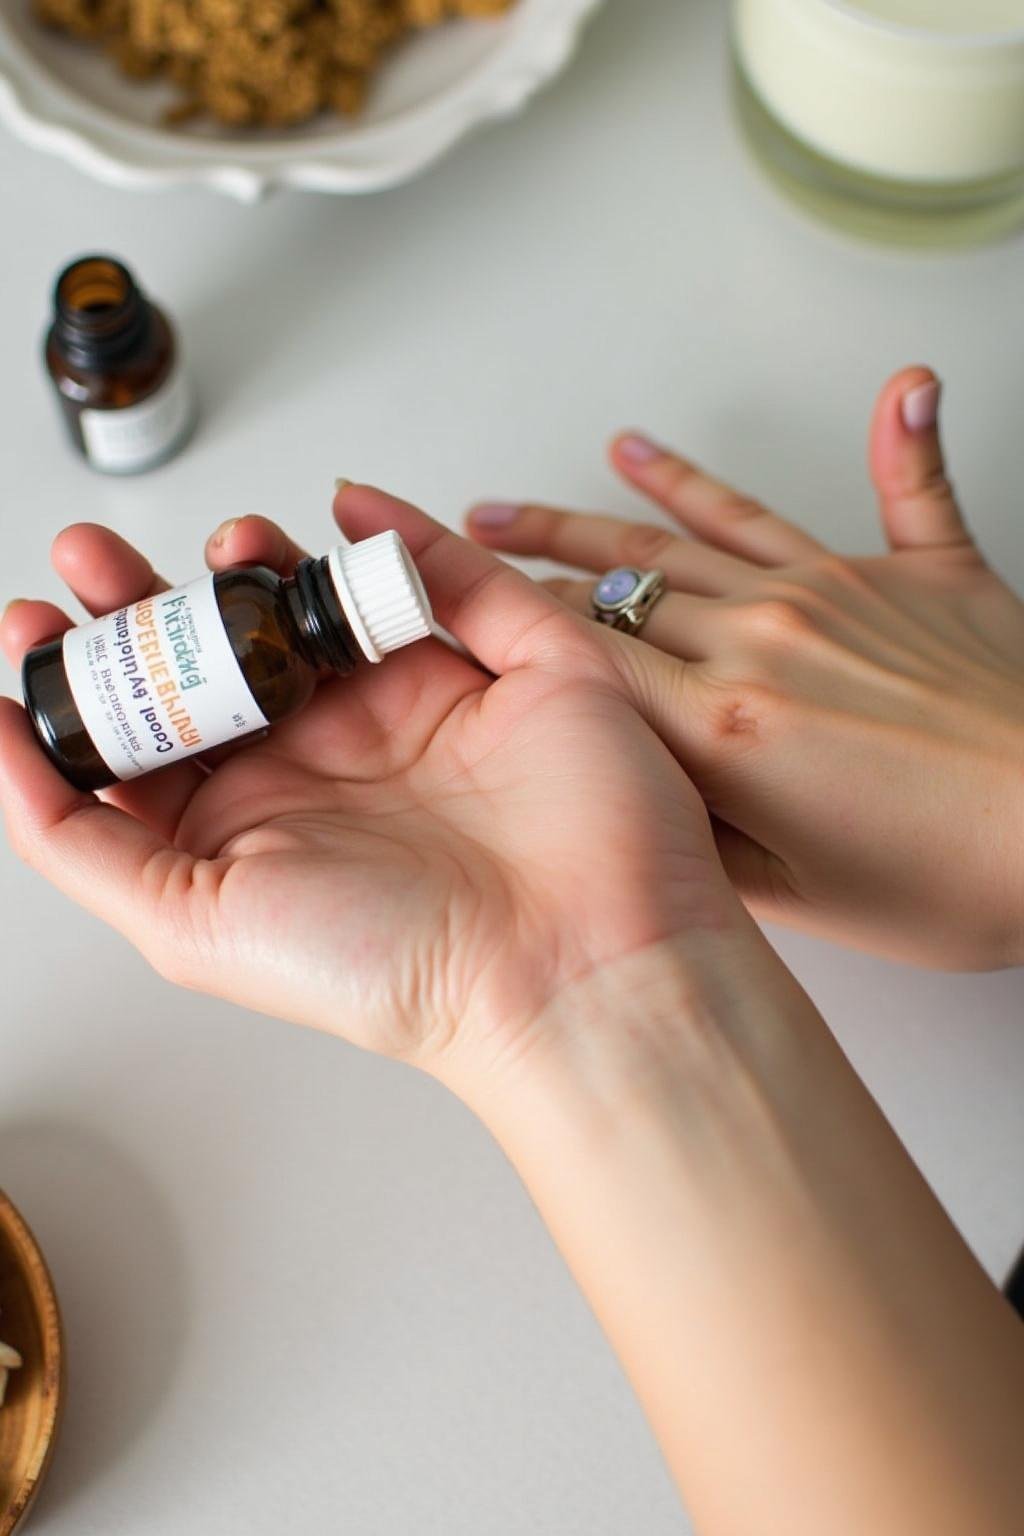
5. Maximize Your Effectiveness: Applying Your Allergy Roll-On
For optimal results, apply your allergy roller blend to pulse points such as wrists, inner elbows, or behind the ears. Rubbing the oils into these warm areas promotes quick absorption, providing faster relief from congestion and sneezing. Reapply the homemade antihistamine recipe 2-3 times daily or as needed during allergy flare-ups. Always perform a patch test before regular use to prevent sensitivities.
6. Advantages of Using a DIY Essential Oil Roller for Allergy Symptoms
- Immediate relief: Direct application to pulse points provides quick alleviation of congestion, sneezing, and watery eyes.
- Personalized blends: Customize ingredients to match your allergy triggers and skin sensitivities.
- Compact and portable: Easy to carry, ensuring on-the-go relief wherever you are.
- Cost-effective: Making your own blend saves money compared to buying commercial options.
- Fewer chemicals: Natural ingredients significantly reduce the risk of adverse reactions.
7. FAQs About Natural Allergy Relief
Can I use this allergy roller blend daily during allergy season?
Absolutely. Daily use of your DIY allergy roller during peak allergy times can provide consistent relief. Observe your skin’s response and adjust application as necessary, and for added support, consider integrating a gift set of essential oils for aromatherapy.
Are there precautions to keep in mind when creating a homemade antihistamine recipe?
Yes. Always perform a patch test to check for sensitivities. Use only high-quality, pure essential oils, and avoid applying near eyes, mucous membranes, or broken skin. Pregnant women and children should consult healthcare professionals prior to use.
How long does the allergy relief effect last after application?
Typically, effects last between 1-3 hours depending on individual sensitivities and the severity of symptoms. Reapplication can be done as needed for ongoing relief.
8. Final Thoughts
Crafting your own DIY allergy relief roller blend is a natural, economical, and effective approach to managing allergy symptoms. By incorporating allergy aromatherapy with essential oils like eucalyptus, peppermint, and lavender, you can enjoy quick, safe relief while supporting your overall wellness. Get started with creating your homemade antihistamine recipe today and experience the benefits of natural allergy relief whenever allergies strike.